|
|

|
Processed through Paypal No account required. |
Buy our over-priced crap to help pay the bills.


|
|
|
Processed through Paypal No account required. |
| File - Download DesktopPic v2.0.3 | ||||||||
| Description | ||||||||
|
A plea... Deanna and I have been running this site since 2008 and lately we're seeing a big increase in users (and cost) but a decline in percentage of users who donate. Our ad-free and junkware-free download site only works if everyone chips in to offset the revenue that ads on other sites bring in. Please donate at the bottom of the page. Every little bit helps. Thank you so much. Sincerely, your Older Geeks: Randy and Deanna Always scroll to the bottom of the page for the main download link. We don't believe in fake/misleading download buttons and tricks. The link is always in the same place. DesktopPic v2.0.3 👉 Display or stamp images on your Windows desktop wallpaper with multi-monitor support. DesktopPic lets you display one or more pictures on your desktop as borderless slideshows or stamp images directly onto your wallpaper for a more permanent effect. It is designed to work with multiple monitors and supports convenient positioning options, letting you place images in corners, centered areas, or specific displays. DesktopPic also supports transparent images, crossfading for slideshow use, and a portable mode that does not require installation. Features: • Display images in borderless slideshow windows on the desktop • Stamp one or more images directly onto wallpaper • Full support for multiple monitors • Smart image placement including center and corner positions • Maintains original image aspect ratio • Supports transparent images • Supports crossfading in slideshow mode • Portable option available with no installation required • Supports common bitmap image formats including PNG, JPG, BMP, WebP, and animated GIFs Slideshow Displays one or more pictures in a window that has no borders or captions, so all you see is the picture. The image window may be positioned manually or set to appear in the center or any corner of any monitor. This will give the illusion of the picture being part of your wallpaper, but it’s really just another window. Any desktop icons in the same region as the picture will be covered. Bitmap image formats, such as PNG (recommended), JPG, BMP, WebP (photos), and animated GIFs are supported. You can run multiple copies of DesktopPic (use portable option) to have more than one slideshow on your desktop (on any monitor). DesktopPic does not do a wallpaper slideshow (that capability is built into Windows under “Personalize”). 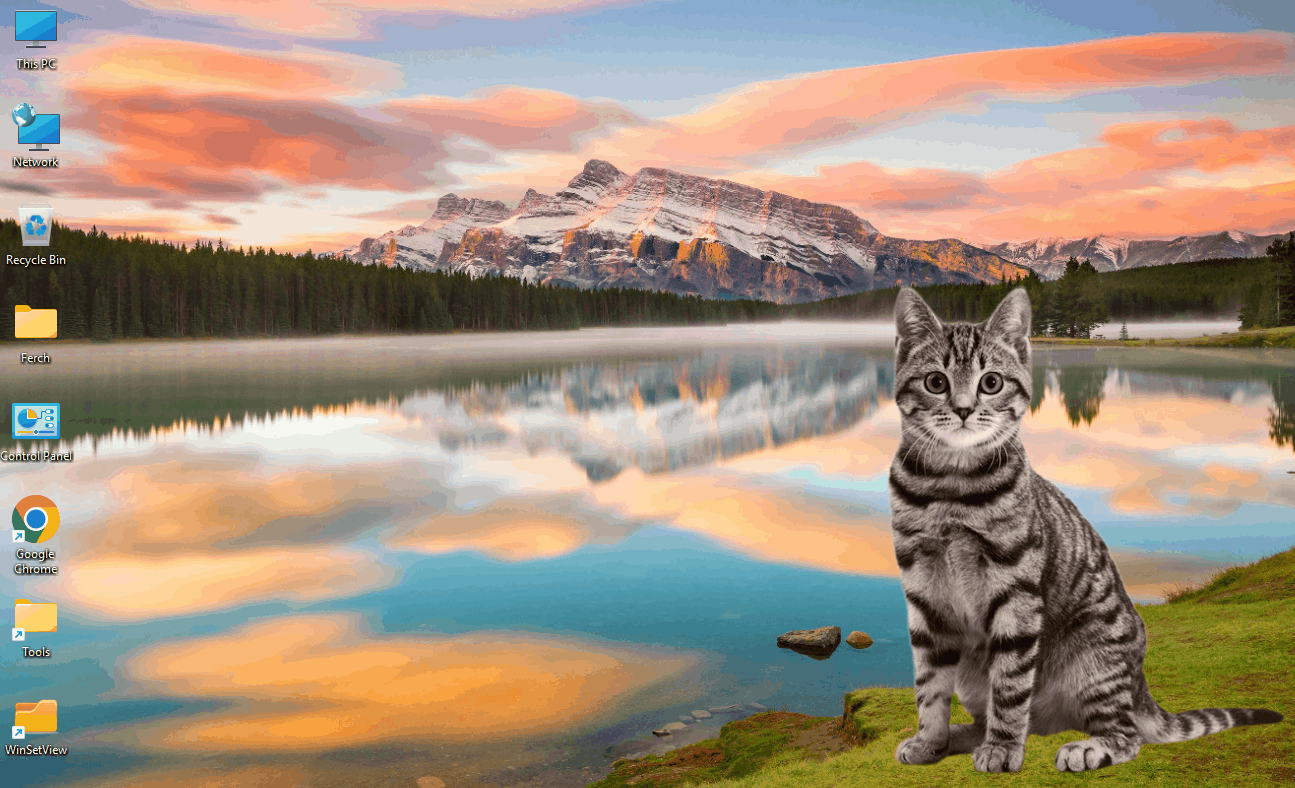 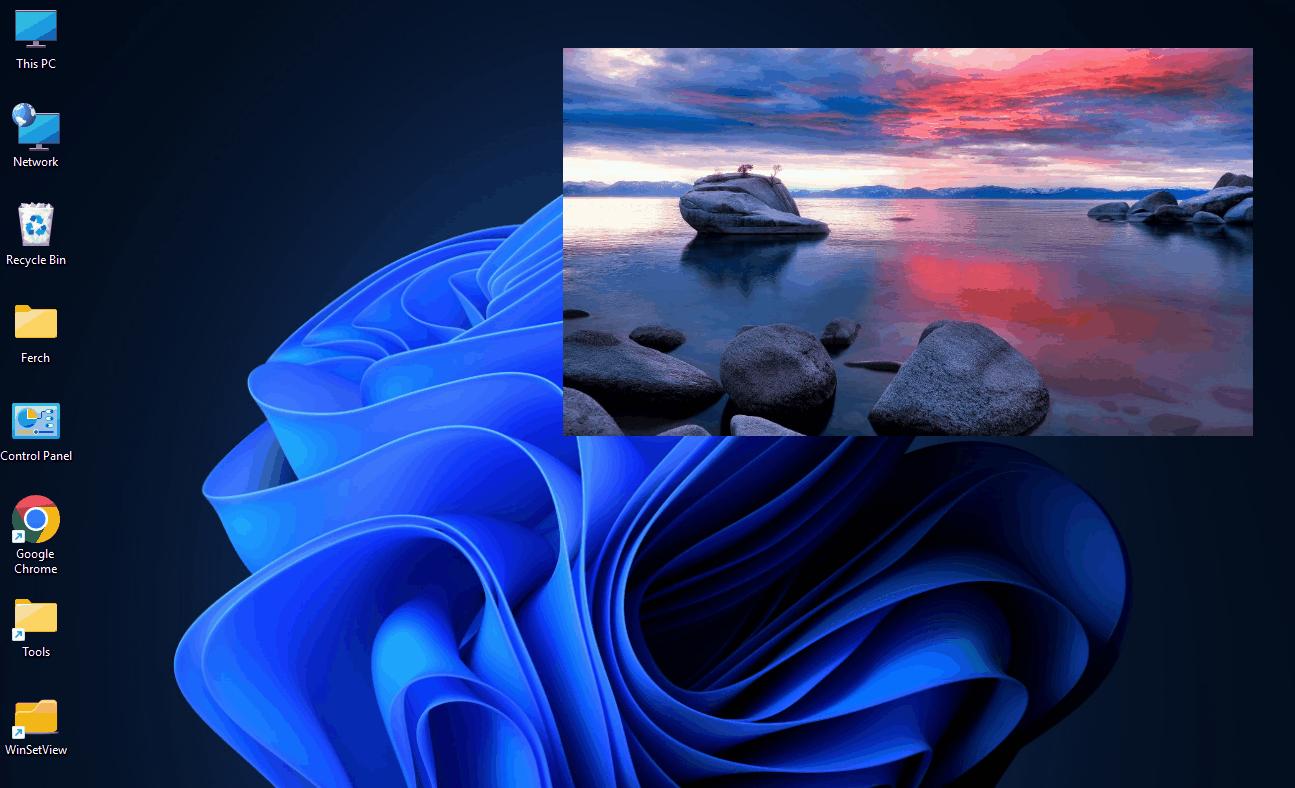 Stamp Image to Wallpaper One or more images can be stamped to the wallpaper in any size or position. This makes the picture part of the wallpaper, so it will never be on top of anything else and will require nothing to be left running. Images can be stamped on any monitor. Images with a transparent background are supported. The Stamp feature provides the same result as if you edited your wallpaper using an image editing program. It just makes the process easier and more fun (and easier to undo). 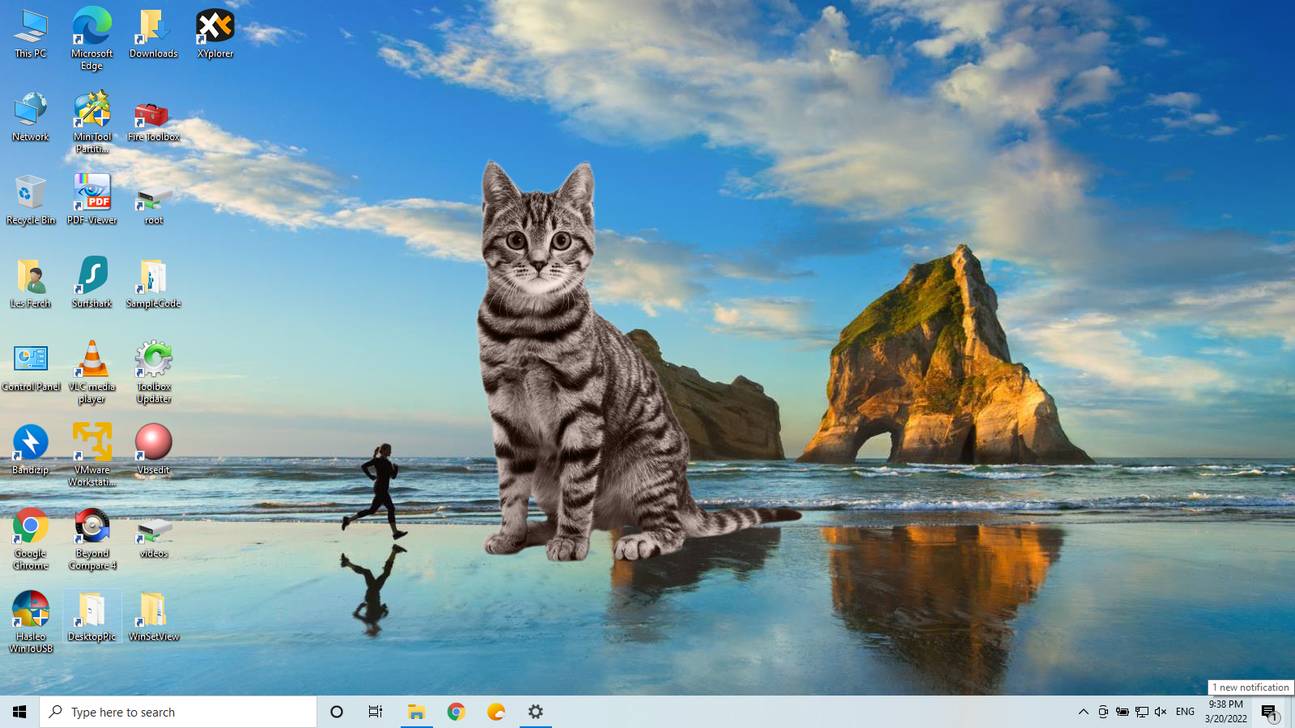 Show the interface Double-click anywhere on the displayed image to show the DesktopPic interface. The Esc key may also be used if the slideshow program has focus. 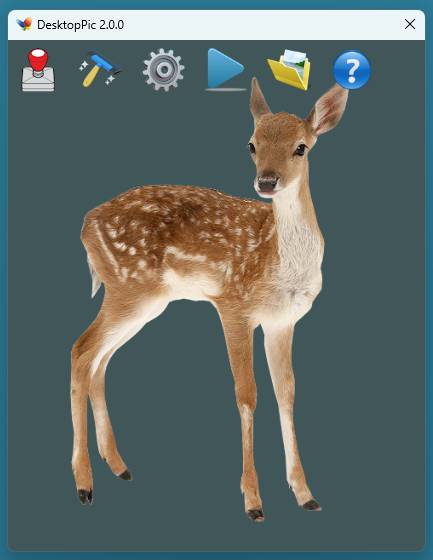 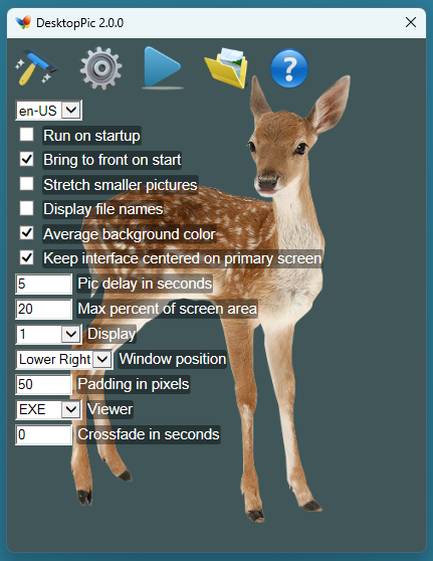 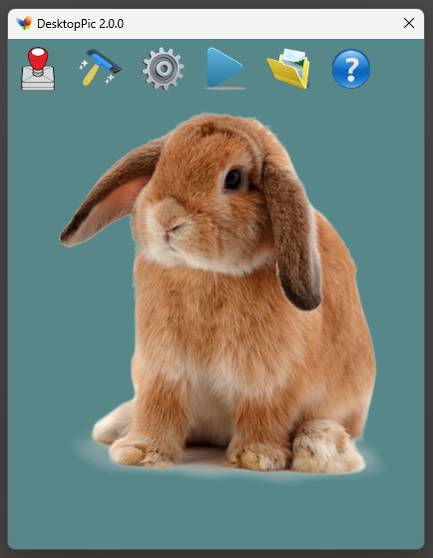 Supported operating systems: Windows 10/11 Supported languages: German, English (United Kingdom), English (United States), Spanish (Spain), French, Italian, Japanese, Korean, Portuguese (Brazil), Polish, Russian, Thai, Vietnamese, Chinese (Simplified), Chinese (Traditional) Changes: v2.0.3 03-16-26 Bug Fix: Scaling value is now read correctly on systems where decimal symbol is not a period. Click here to visit the author's website. Continue below for the main download link. |
||||||||
| Downloads | Views | Developer | Last Update | Version | Size | Type | Rank | |
| 2,688 | 6,810 | LesFerch | Mar 17, 2026 - 10:54 | 2.0.3 | 7.57MB | ZIP |  , out of 51 Votes. , out of 51 Votes. |
|
| File Tags | ||||||||
| DesktopPic desktop wallpaper slideshow wallpaper stamper multi monitor image display portable Windows utility Les Ferch | ||||||||
Click to Rate File Share it on Twitter → Tweet
|